-Pop and K-Drama do shake our world, agree? Well, at least for me. hehe..
Yeah, I say it because I really feel that I've been seduced by Korean celebrities makeup. How their skin look glowing, smooth, how their lips look soft, fresh and pinkish. That's why I bought BB Creams, and now lip tints.
Look at Geum Jan Di's pic below. Doesn't she look so beautiful? (Even if she was just about to cry)
-Pop and K-Drama do shake our world, agree? Well, at least for me. hehe..
Yeah, I say it because I really feel that I've been seduced by Korean celebrities makeup. How their skin look glowing, smooth, how their lips look soft, fresh and pinkish. That's why I bought BB Creams, and now lip tints.
Look at Geum Jan Di's pic below. Doesn't she look so beautiful? (Even if she was just about to cry)Clear skin, rosy cheek, red lips. Very attractive.

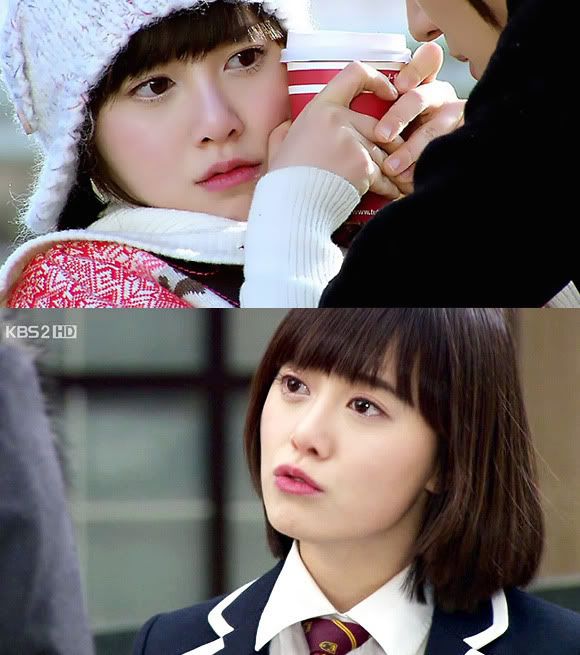
Well, one of the her makeup secret is she was using TONYMOLY lip tint for her lips!
Lip tint/ lip stain is definitely popular these days. I think it was being popularized by Benetint from Benefit Cosmetics.
The plus points why we should love lip tint are:
1. The color is long lasting
2. It looks natural
3. You can make gradation color!
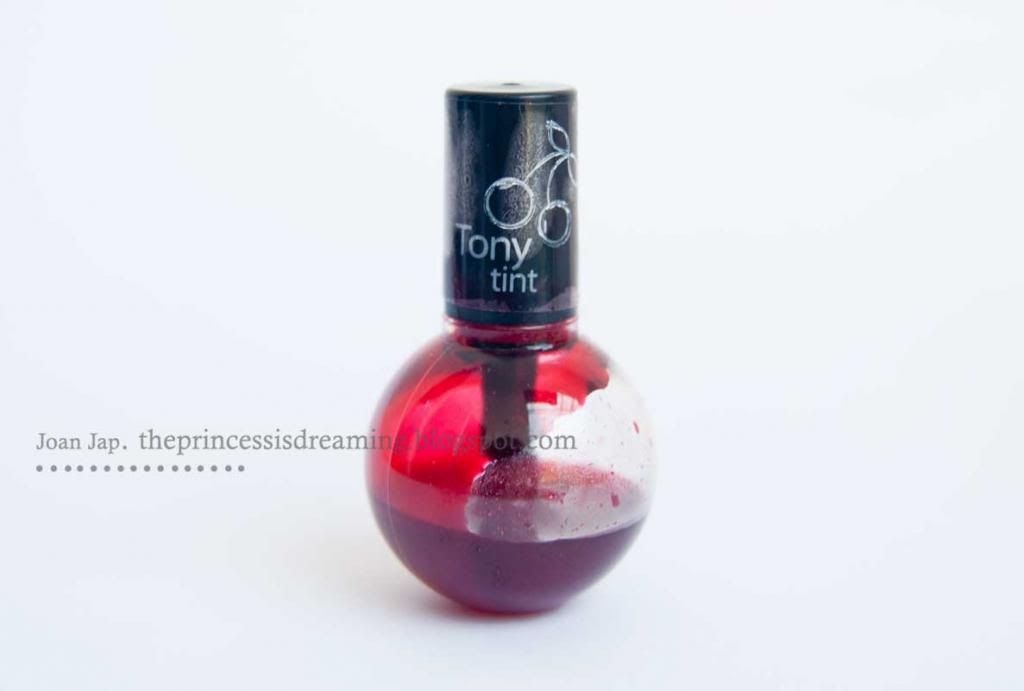
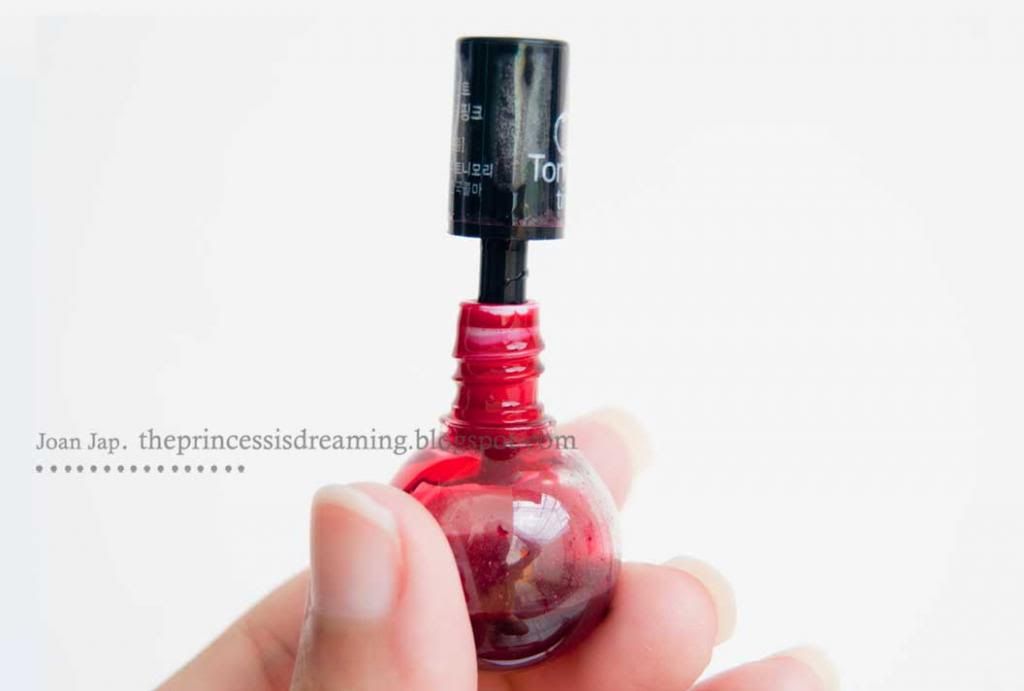
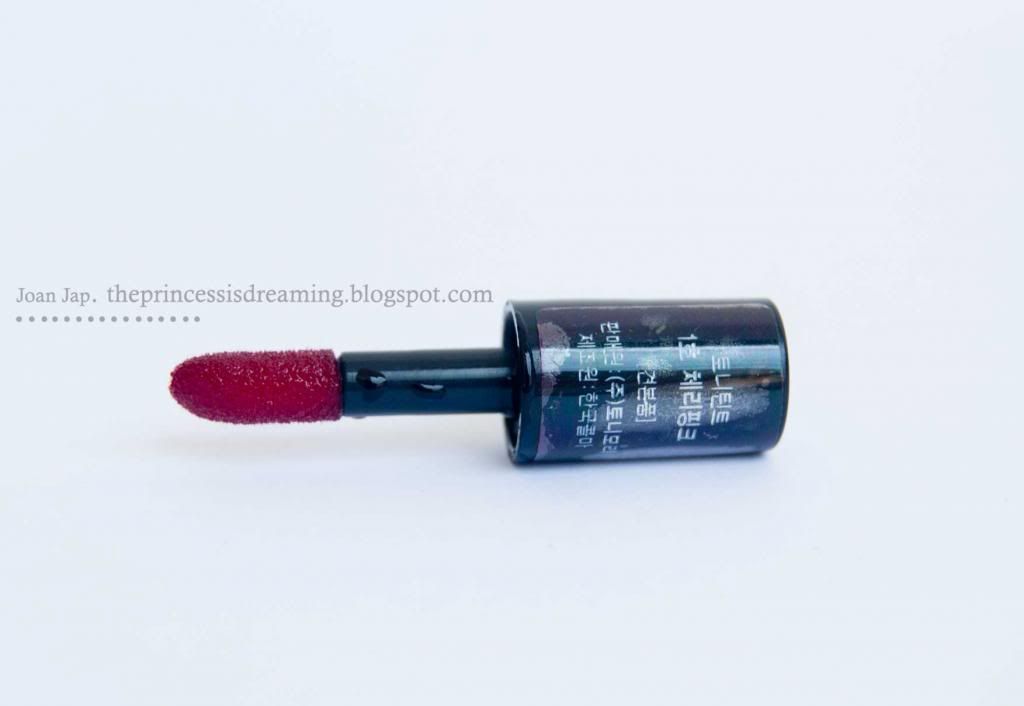
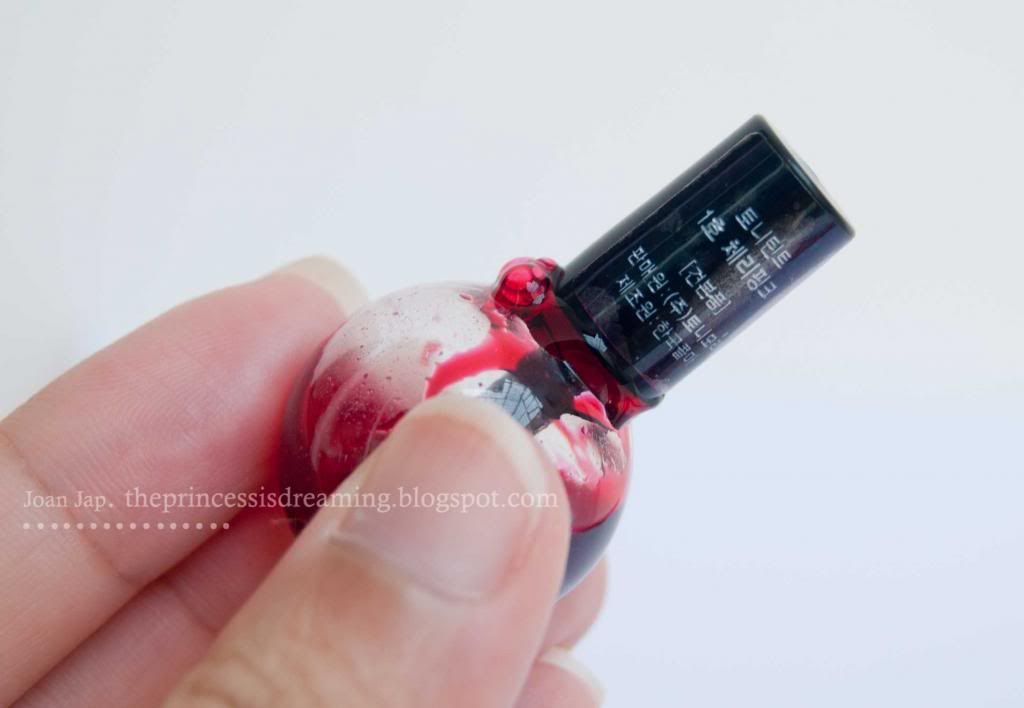
This is mine. The bottle is sooo small.. (I've been using it several times before take the pics)
Actually, the lip tint comes with the 2 types packaging. One is the normal size, and the other one is the mini size. Because this was my first ever lip tint, so I bought this mini for giving it a try.
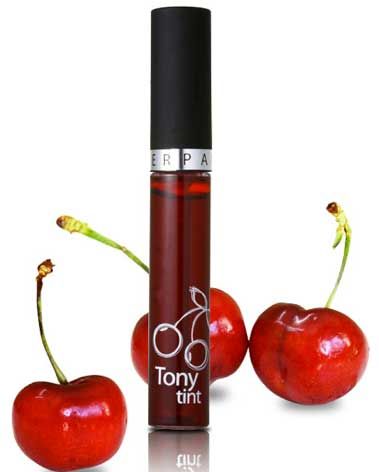
Here's the normal size of Tony Tint (cr: google.com)
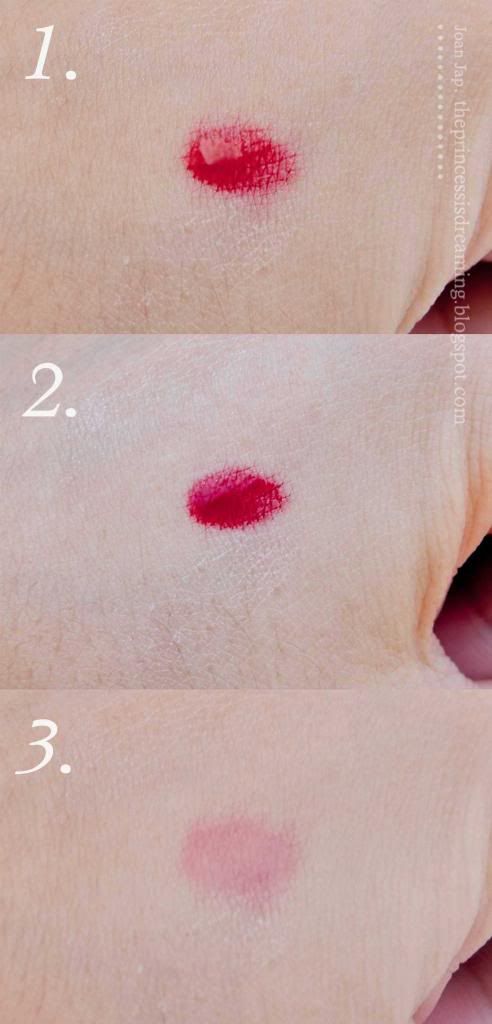
The lip tint absorbs to your skin.
1. First apply
2. leave it for few seconds
3. wipe it away
There are few ways to apply lip tint, but this is my very basic and simple way.
1. Apply the lip tint in few spots (They look bleeding o,O). The tony tint has water consistency. Different with my Etude House Dear Darling tint that has thick lip gloss consistency.
2. Blend it out with fingers. It dries pretty quick.

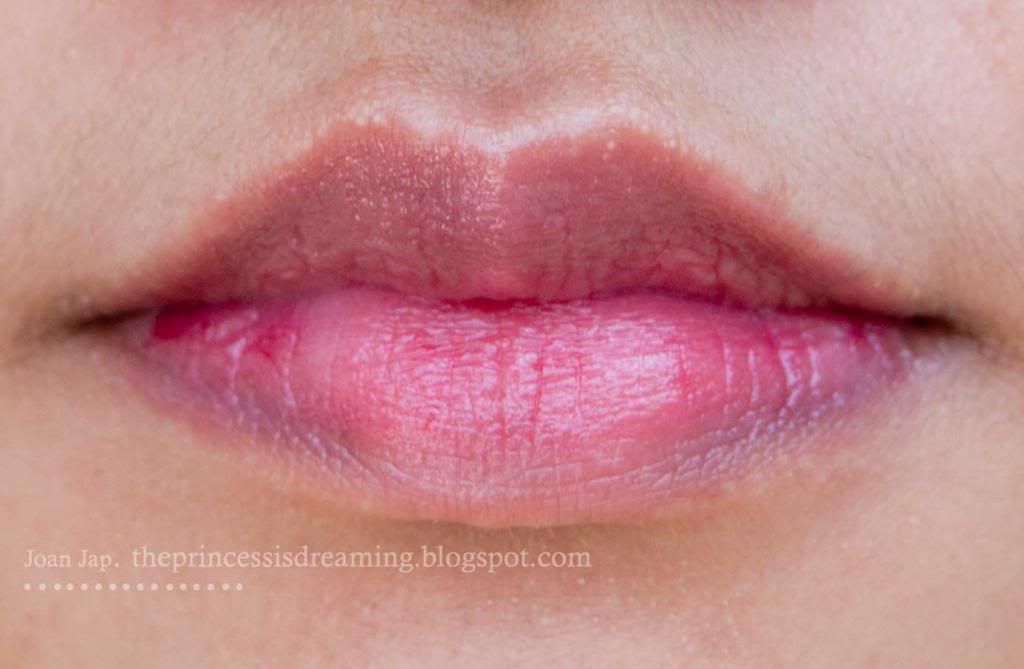
3. Apply few layers - especially in the inner semi circle area of the bottom and upper lip - until you get the red color you want. You can also add lip gloss after the last step.
Overall rating: ★★★☆☆ Color:★★★★☆ Long Lasting:★★★★☆ Packaging:★★☆☆☆ Smell: ★★☆☆☆
My final thought:
I LOVE the lip tint. It gives my lips "sudden fresh and bold" look. My friends made lots of compliments every time I use this lip tint, like "Your lips look red!", "You look more beautiful." , "There's something different, you look prettier." etc etc. Wow.. this made me realized that our lips color could make some differences to our appearance.
the lip tint also long lasting. After I eat and drink, the color is still there, even if not as bold as the first apply. I think it's even getting more natural.
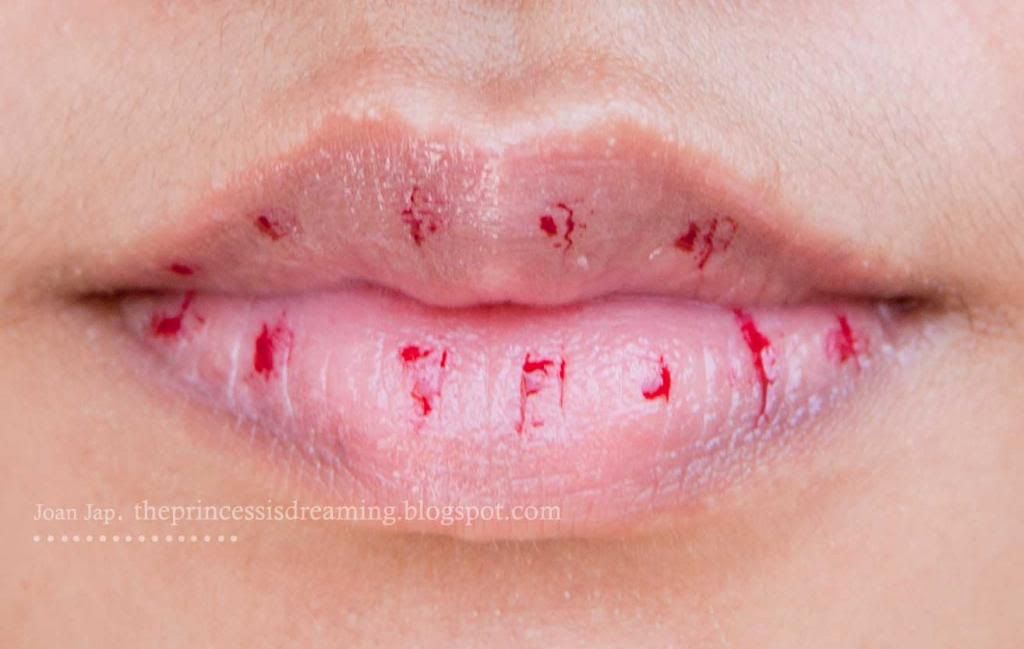
What I don't like about the tony tint and other lip tint is IT'S SO HARD TO APPLY IN MY UPPER LIP! the color hardly popped up. It's like I don't use any in my upper lip. That's why people also keep asking me , "Why don't you apply lipstick in your upper lip? why just in your bottom lip?"
Well, I don't know the answer why the color won't visible. Anyone knows? ):
Last.. there's the most negative point about the MINI tony tint. The packaging.
After I use the tint and close the cap, the liquid starts to come out. This is really not good. I have to prepare tissues every time I use the lip tint. I quickly run out the lip tint.
But still, I quite satisfied with this TONYMOLY lip tint. It's completely different than using lipstick (:
Read more...
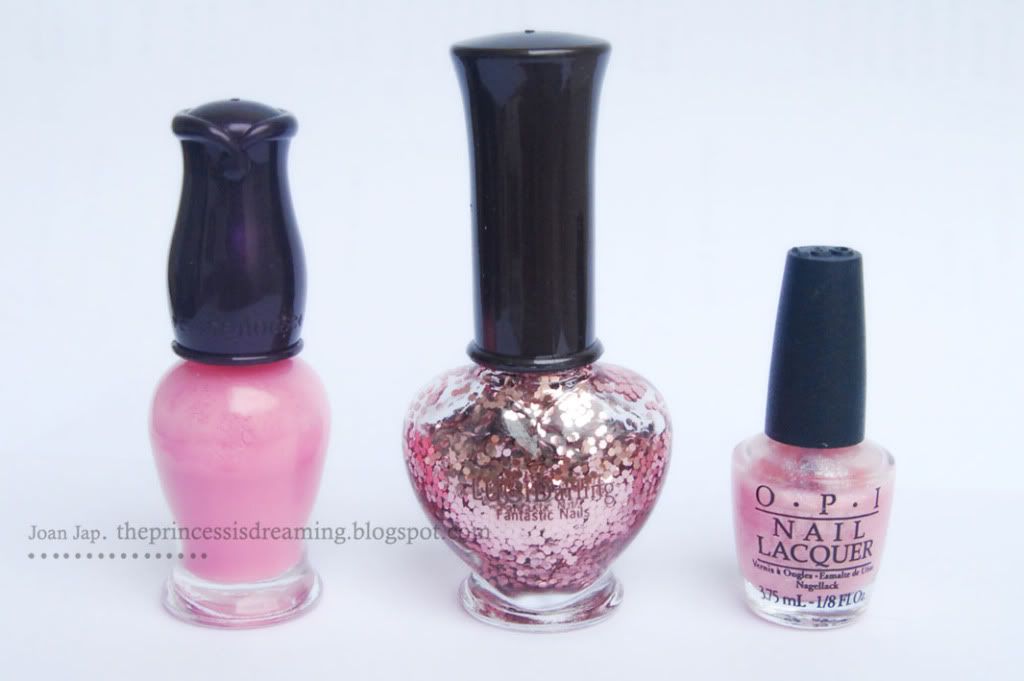
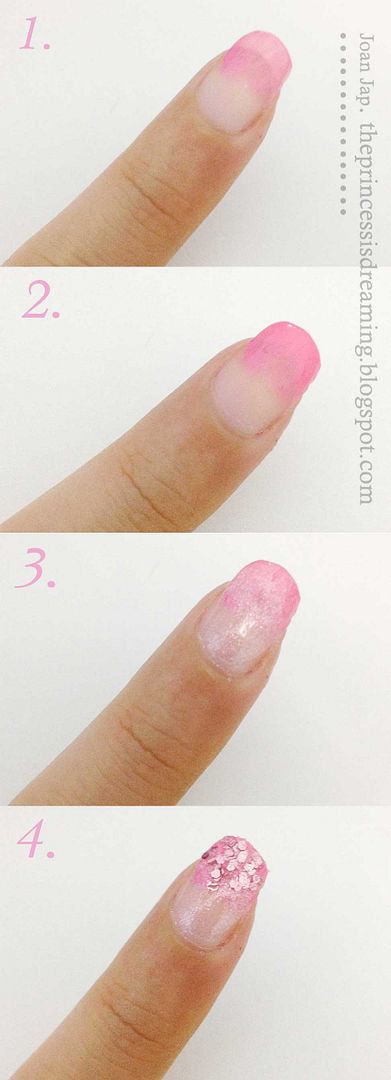
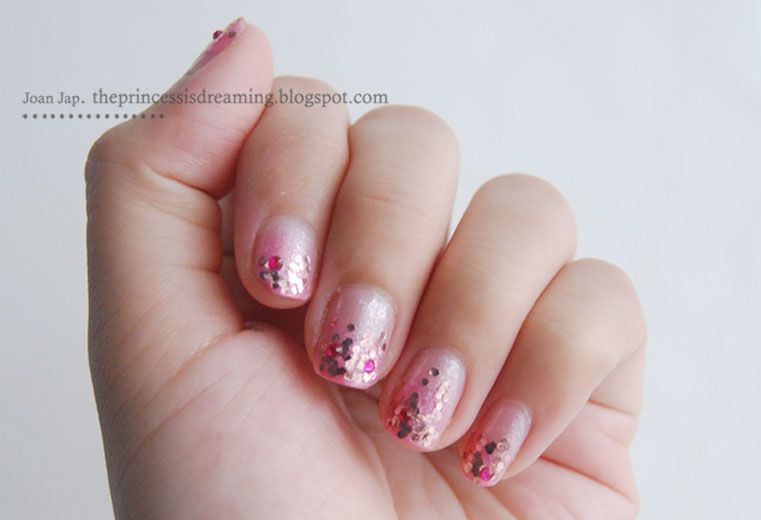
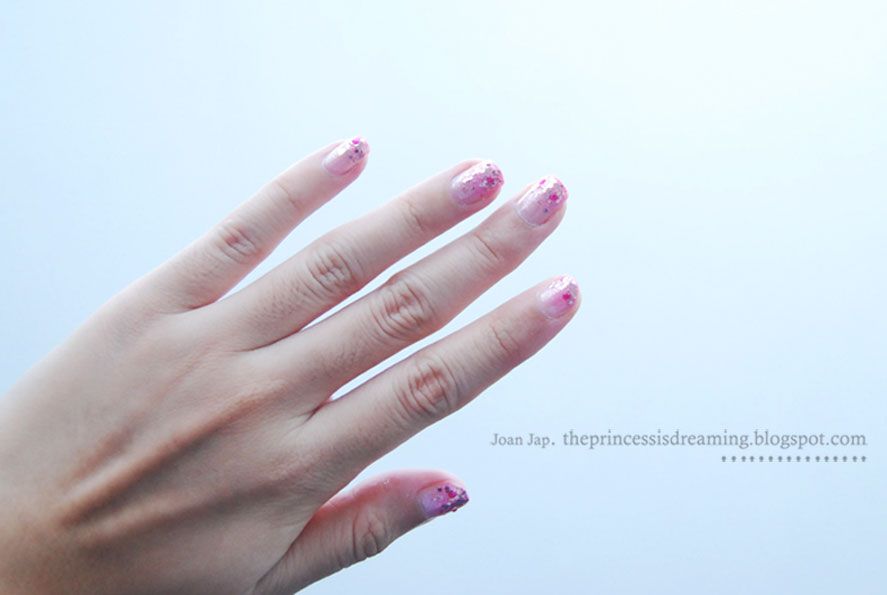
 LOVE making nail art!