Hello everyone! Winter is coming.. for you guys out there. And for us here in Indonesia, rainy day is coming.. haha.
I think rainy days here a bit similar with winter, except the weather is much warmer and it's pouring water, not snow xp
Everyday I work indoor with very cold air conditioner. My hands and nails get dry so easily.
Well, lucky me. Julep sends me the tips for us who suffer dryness from the cold.
For me, I simplify hand and nail care.
First of all, I use vaseline petroleum to my hands and massage them before bed.
For daily, I use hand cream to moisturize my hands.
Not forget to clip my nails and remove cuticle after it. Soft and moisturized nails are easily to be shaped and cleaned.
Taraa... my clean and smooth hands and nails :D Very healthy looking after I apply vaseline petroleum overnight.
To beautify, Julep also recommend these colors to winterize our nails on this holiday season.
Which
of Julep’s nail polish colors do you like? They are just beautiful and very winter theme.
Happy winterize your nails, girlies!^^
Read more...
Showing posts with label nail. Show all posts
Tuesday, December 9, 2014
Saturday, September 28, 2013
Nail Art On My Instagram
I love doing nail art. Even the result are always messy, but I'm still enjoying the process and proud when it's done.
Here are few of my creations on Instagram (:
![]() |
Read more...
Saturday, June 1, 2013
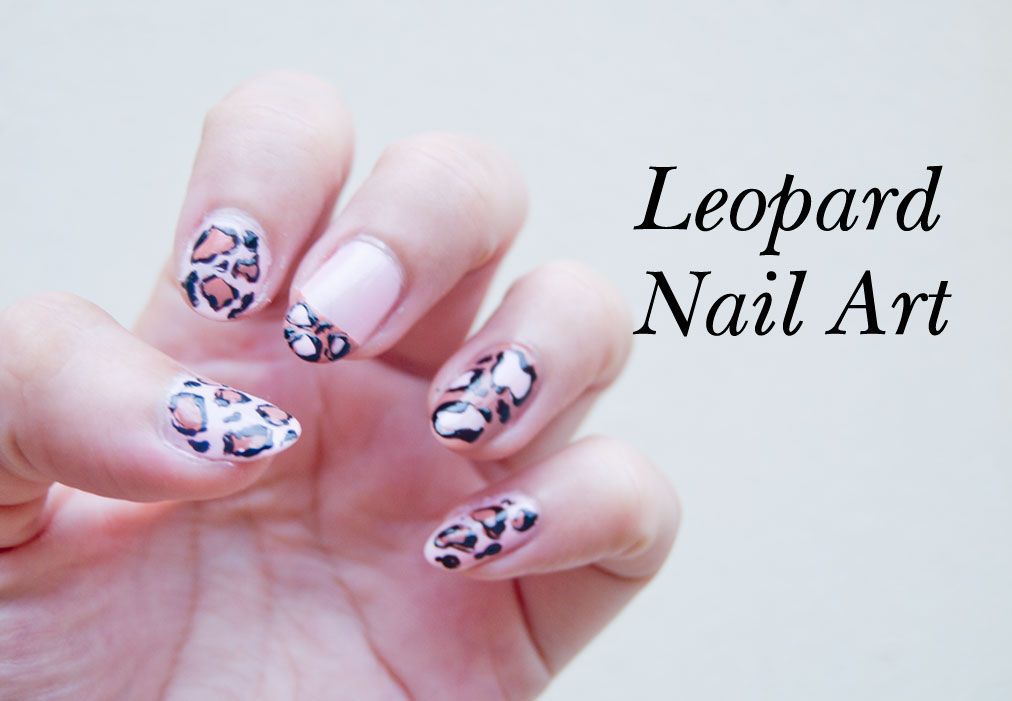
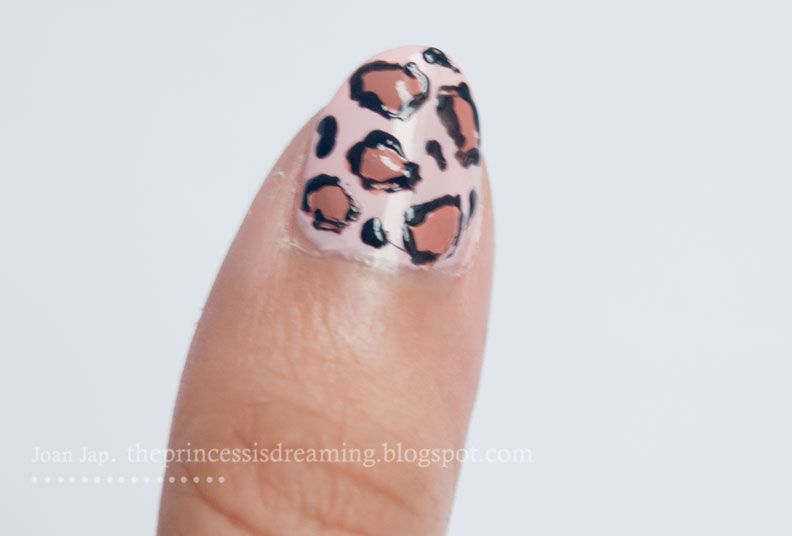
Leopard Nail Art Tutorial

Do you like animal print? Do you like them on your nails? ^^
Here I share you the steps to make leopard print nail art.
First, you need:
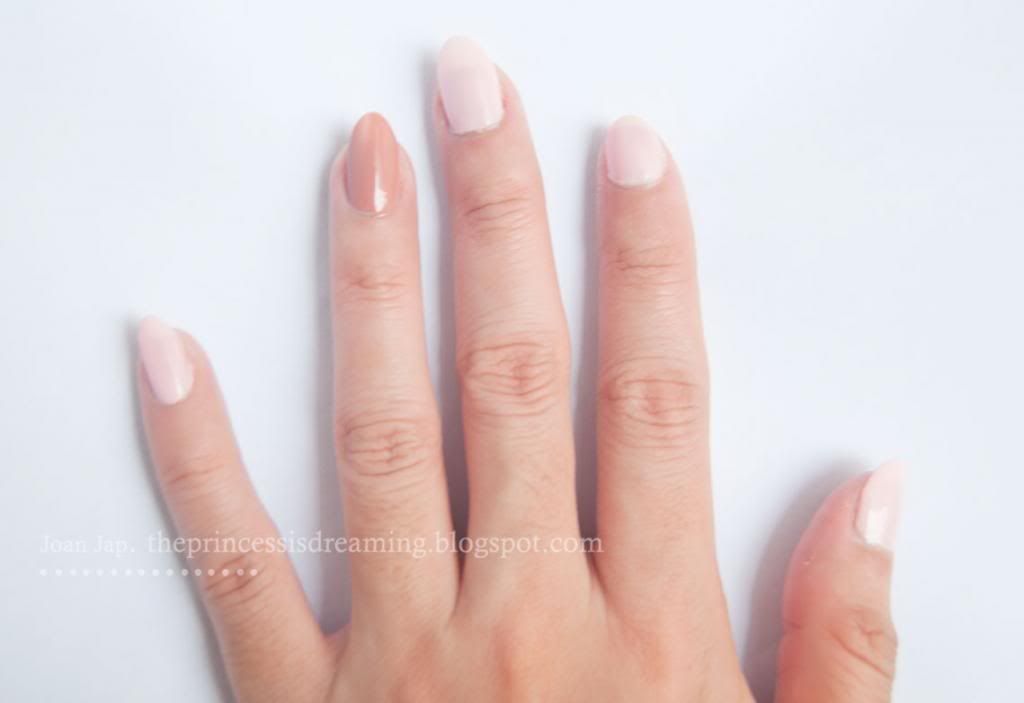
1. Baby pink nail polish, tan nail polish and black nail polish
2. Toothpick
3. Waste paper


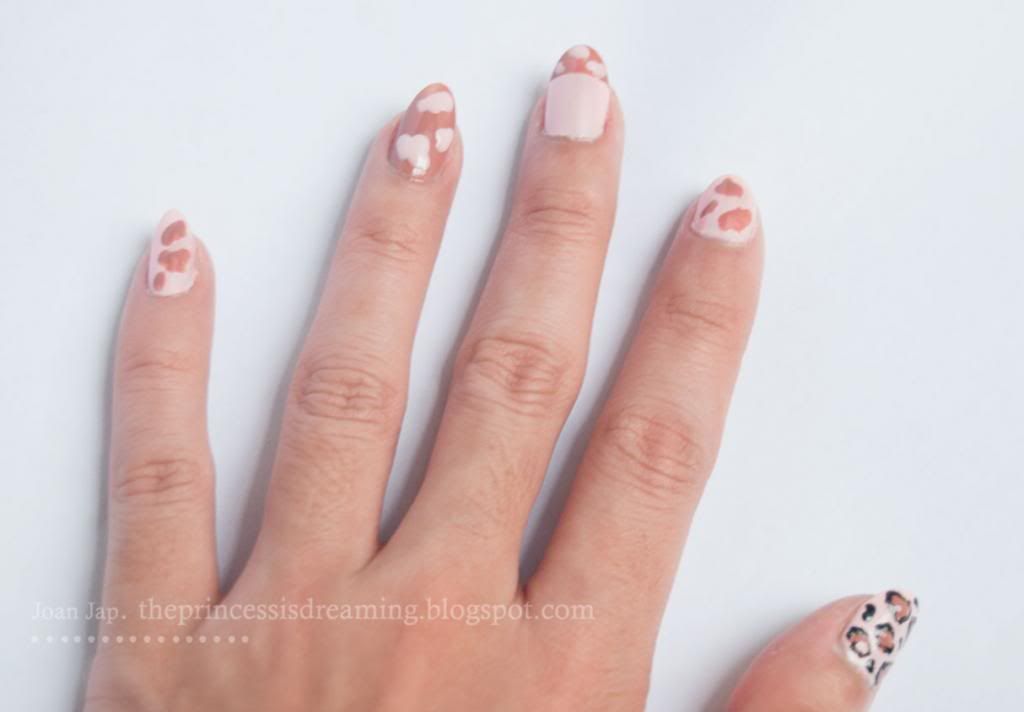
1. Paint your nails with baby pink and tan nail polishes.

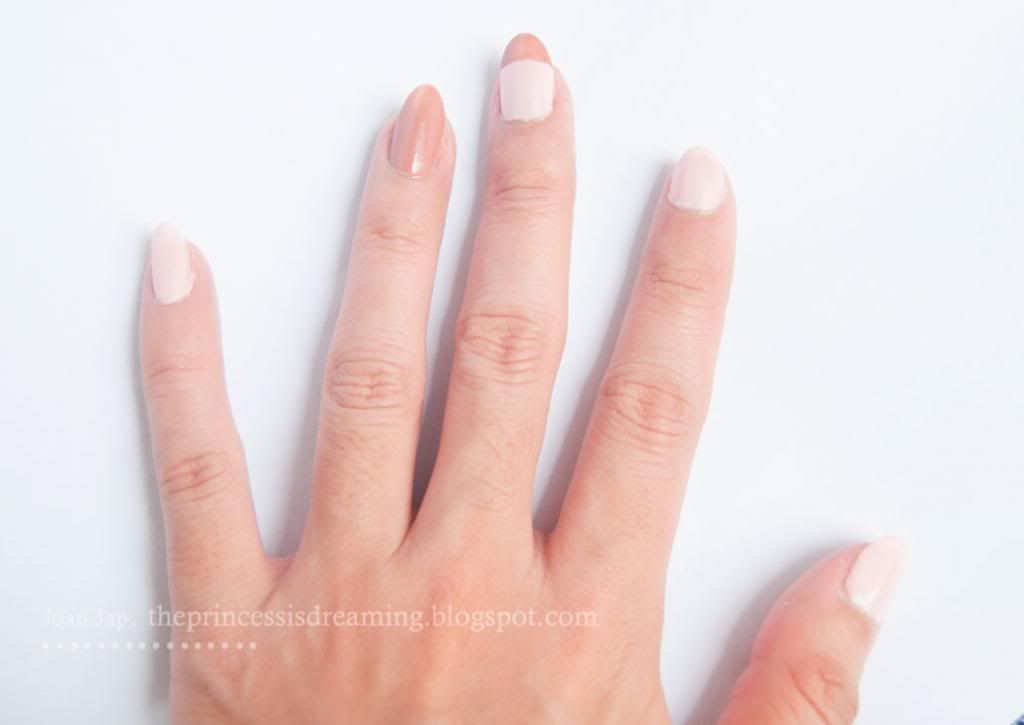
2. To add accent, I paint my middle finger with french mani kind.

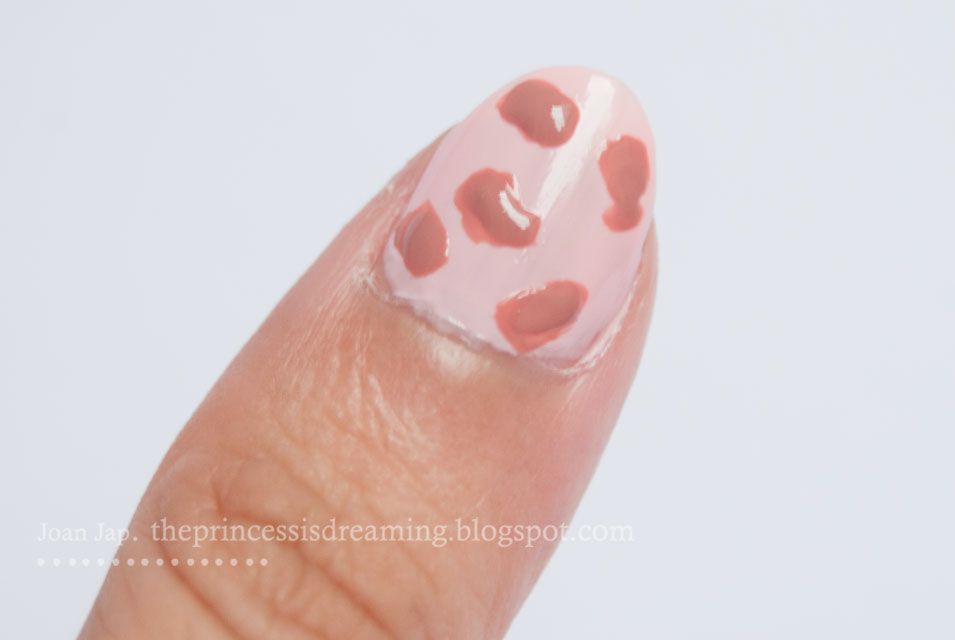
3. Make Abstract dots

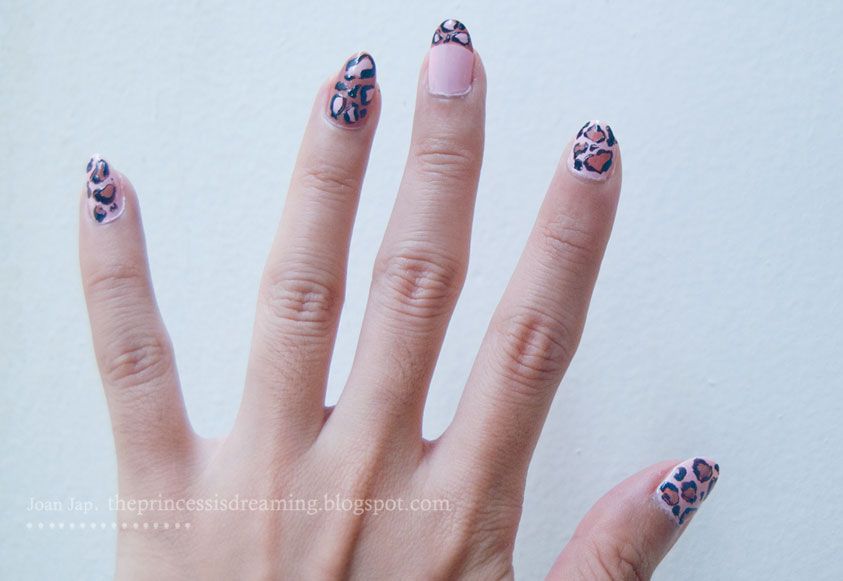
4. Using the black nail polish's brush, dot few drops to the waste paper. Before it gets dry, draw C/U shape around the tan dots with toothpick.

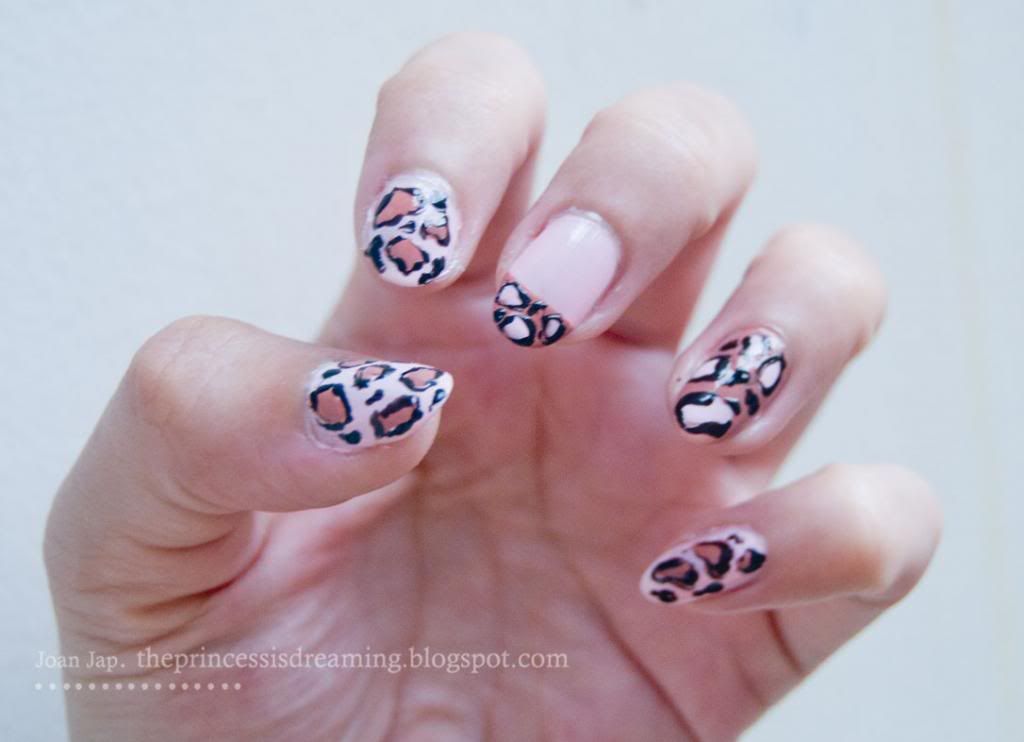
5. Repeat the same steps above to your other nails.

VOILAA...
The abstract dots I made were too big. Smaller dots will be prettier ;)
Read more...
Libellés
etude house,
nail,
nail art,
tutorial
Saturday, November 3, 2012
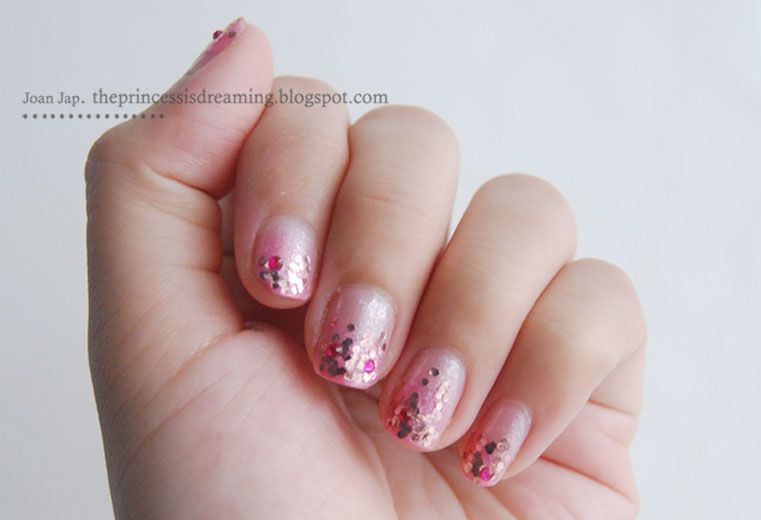
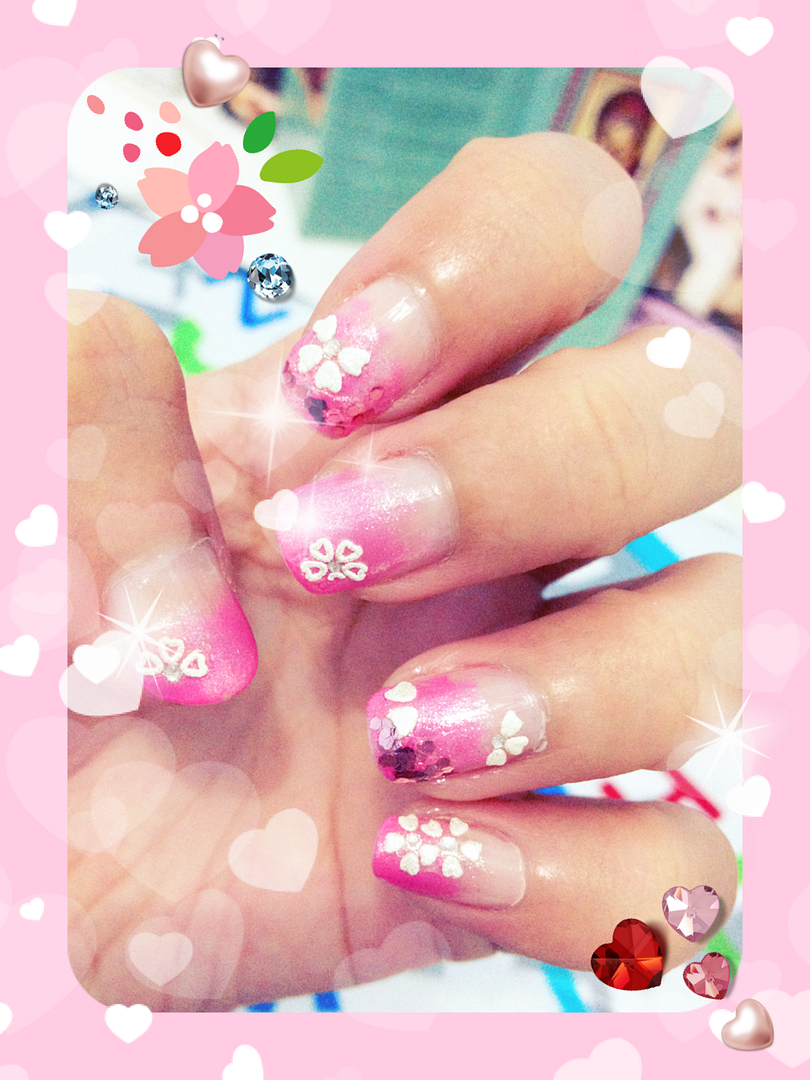
Pink Glittery Gradation Nail Art
LOVE making nail art!Every time I get bored with my natural nail color, at least I color them with nail polish immediately. Sometimes when I'm in the mood, I will make beautiful nail art (:
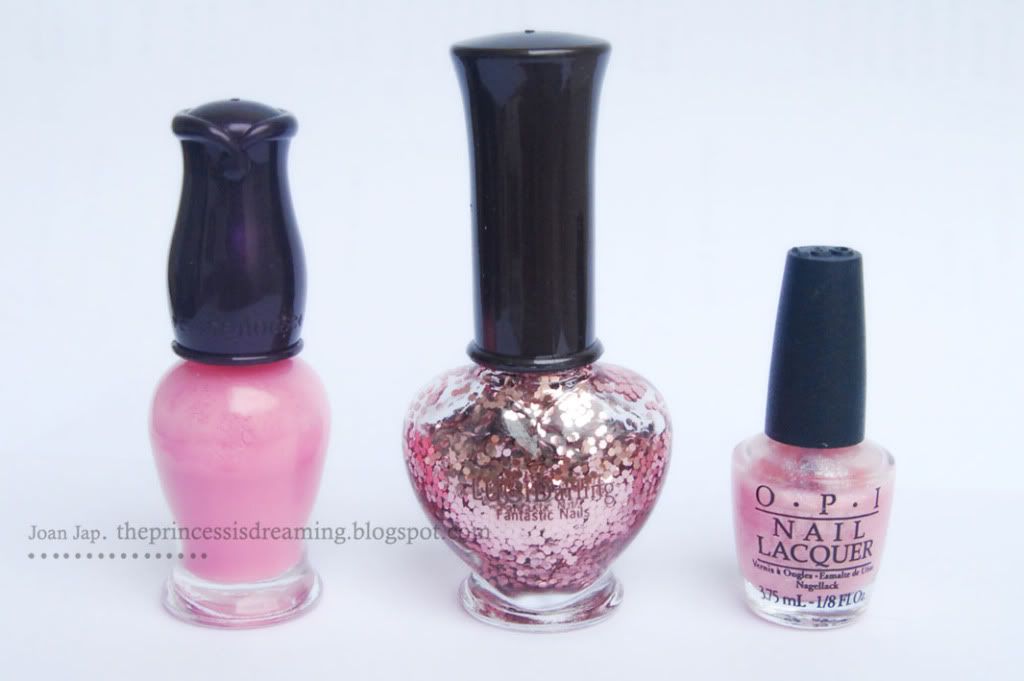
This time, the nail art I want to show you was made with:
1. Etude House Petit Darling Nails PK008
2. OPI Mini Glittery Pink
3. Etude House LUCI Darling Fantastic Nails #05
4. Etude House Jewel Nail Stone (I forgot to take picture)
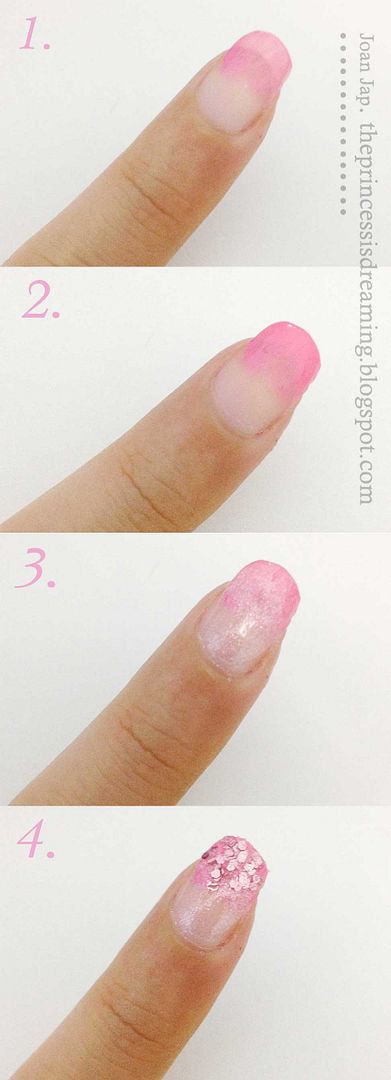
Here's the step by step to create the nail art. (I'm sorry the quality is so bad. I took the pics with smartphone)
1. Apply a thin layer of pink Petit Darling Nails starts from the edge till the tip of your nail surface.
2. Continue to apply few coats on the tip. Don't worry if the result is not neat. We will coat it again anyway.
3. Coat all over your nail surface with Glittery Pink polish.
4. Now is the fun part. Add bling with LUCI Darling polish and nail stone.
5. Finish it by applying your favorite top coat.
You can also be creative with adding nail sticker.
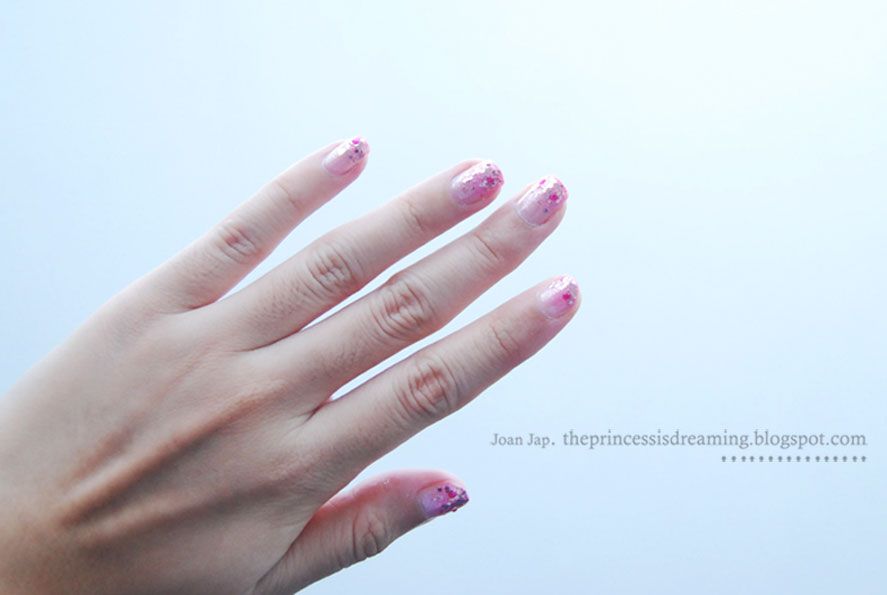
This is my most favorite nail art. I hope you like it too. Bye! x3
Read more...
Libellés
etude house,
nail
Sunday, October 16, 2011
I Won O.P.I and Here Are The Swatches
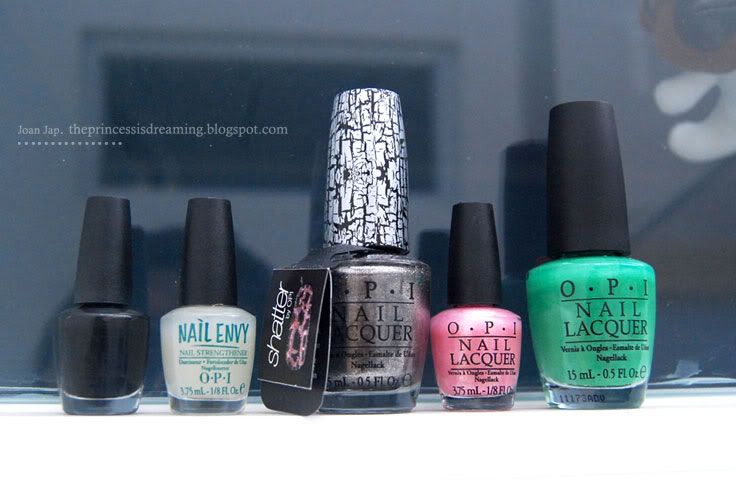
s I promised, now I'm sharing you the prize from Stella Lee and Dunia Kutek because I won their 2nd prize of O.P.I. Hurraahh! Thank you so much guys!!
I was so excited about what colors I would get (Who doesn't love surprise?? -Well, except Oprah. I still don't know the reason she always avoids surprise. Anyone?).
Back to the O.P.I, my excitement became a joy when the package finally popped out in my study desk.
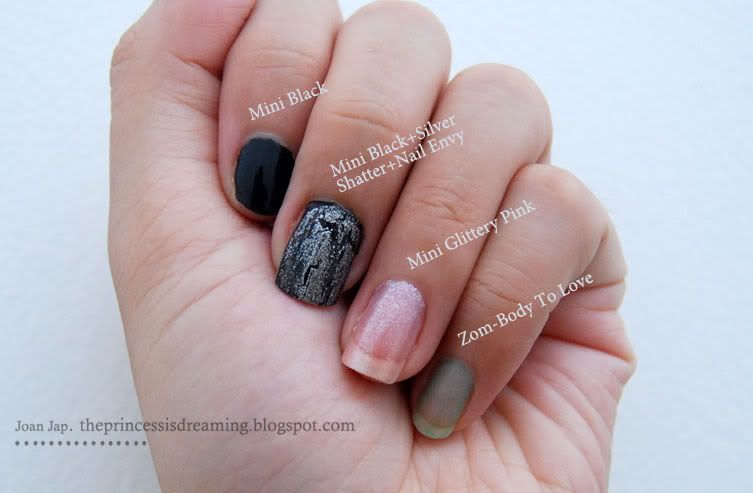
So, I got 5 nail polishes with beautiful colors. Silver Shatter, Zom-Body To Love, Nail Envy, and 2 minis which I don't know the name, so let's just name them Mini Black and Mini Glittery Pink. I love love love what I received ;DDAt first I tried the silver shatter mixed with Zom-Body To Love. They didn't match at all. I didn't know what Zom-Body To Love was. I just thought that it must be because of the color-looks like monster's hand or frankenstein or troll's snot- and because of the name. Then I googled it, and voila! I knew that it's a glow in the dark nail polish. Awesome!
Then I mixed the shatter with the mini black and they were a perfect match. The shatter polish easily get dry and shattered quickly. It's very very cute! For the glittery pink one, the color is so soft so I try to mix it with my other pinky nail polishes (Will show you sometime).
Here are the Swatches.
In that pic I only use a coat of Zom-Body To Love. But if you want to get the glow in the dark effect, put some more coats. In other words, let me make some conclusions:
1. Silver Shatter: Quickly shattered and dry. Will be a perfect match with dark colors.
2. Zom-Body To Love: Glow in the dark. Try to put some coats, so in the day light you can see it green.
3. Mini Black: Put 2 or more coats to achieve dark solid black.
4. Mini Glittery Pink: Soft color, solid glitter.
5. Nail Envy: Claims to be a nail straightener, good for top coat.
I'm absolutely love this giveaway. So, don't forget to visit both Stella's blog and Dunia Kutek's website and blog. Gotta love their beauty thingy (:
Till next time, nail lovers!}
Read more...
Libellés
beauty review,
giveaway,
nail
Subscribe to:
Posts (Atom)